Shop by Category
-
BODY ARMOR
-
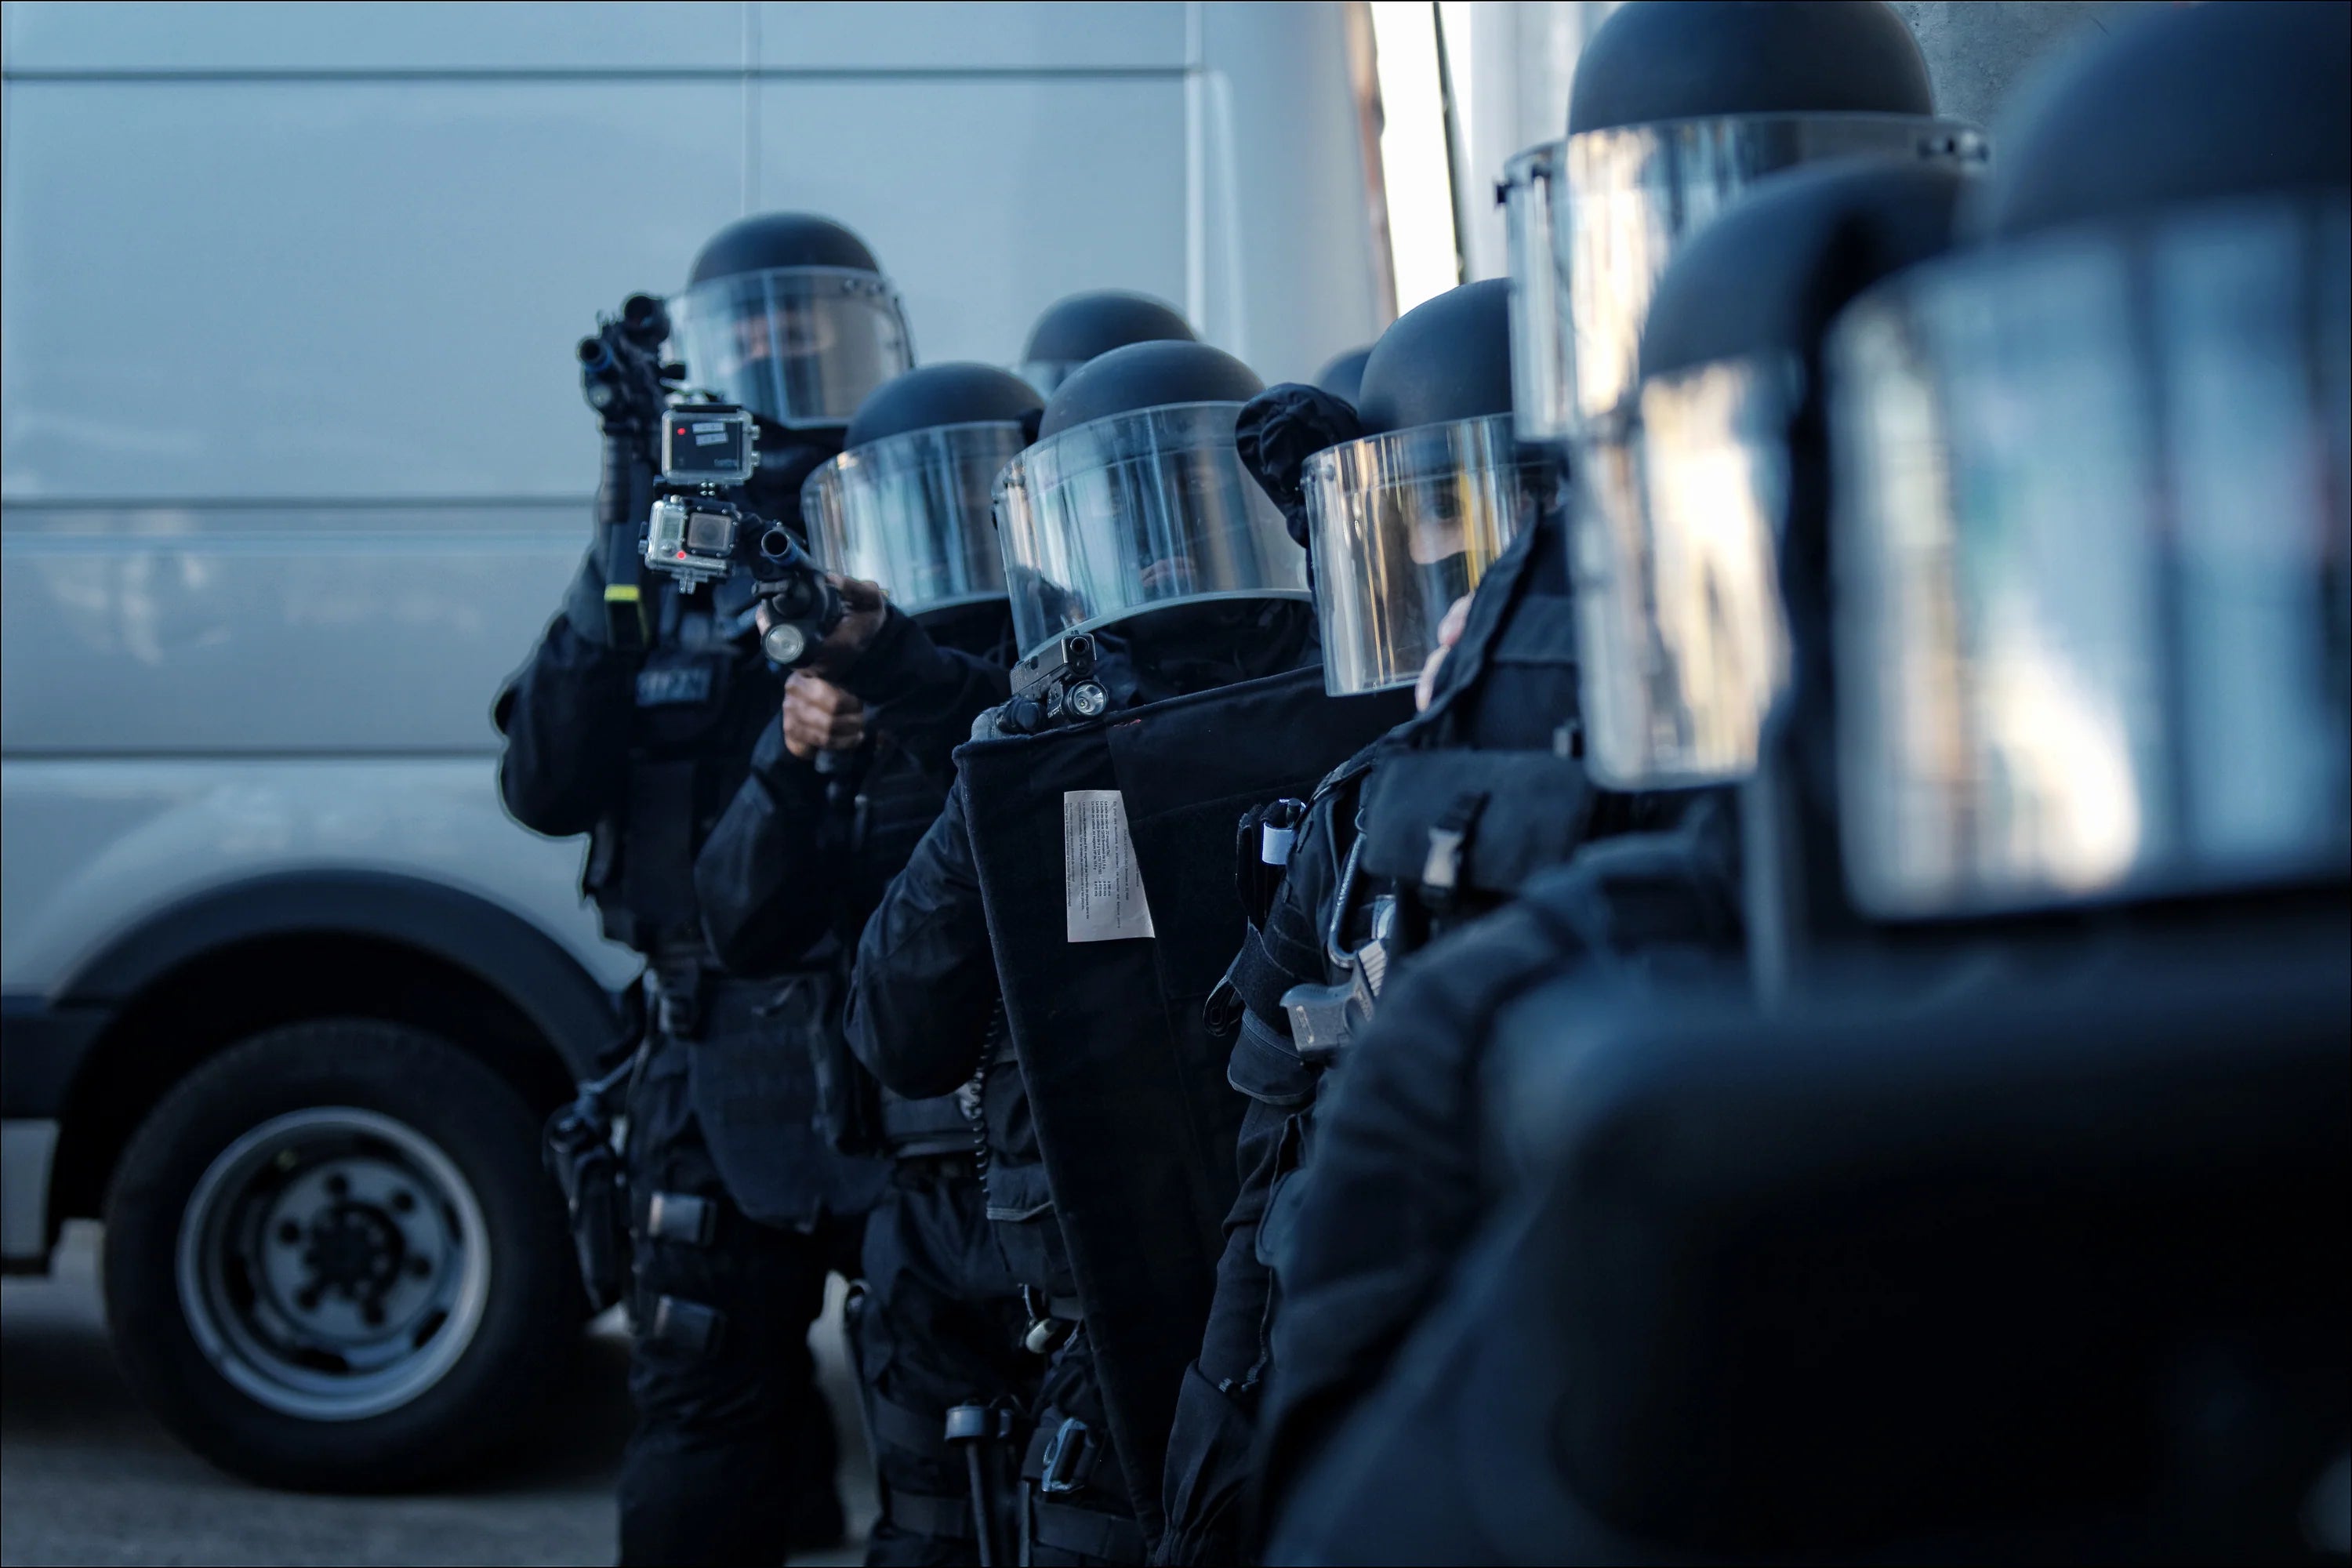
RIOT CONTROL GEAR
-
APPAREL & DUTY GEAR
-
COMMUNICATION & SURVEILLANCE - SPY EQUIPMENT & GADGETS
-
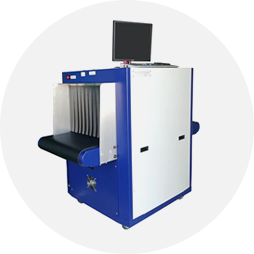
DETECTION & INSPECTION
-
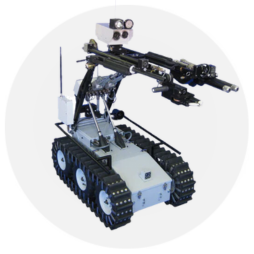
EOD & Facility Equipment
-
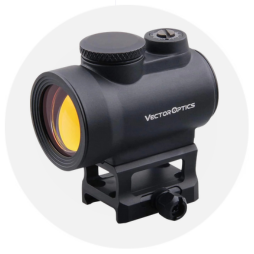
FIREARM ACCESSORIES
-
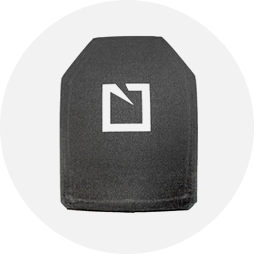
BALLISTIC PLATES
-
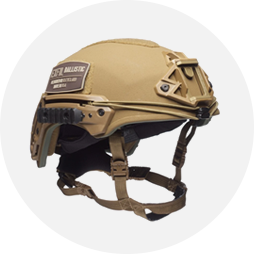
BALLISTIC & ARMOR HELMETS
-
CBRN
-
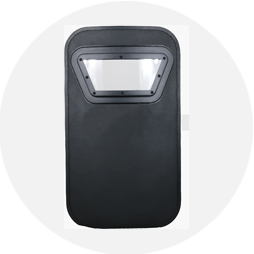
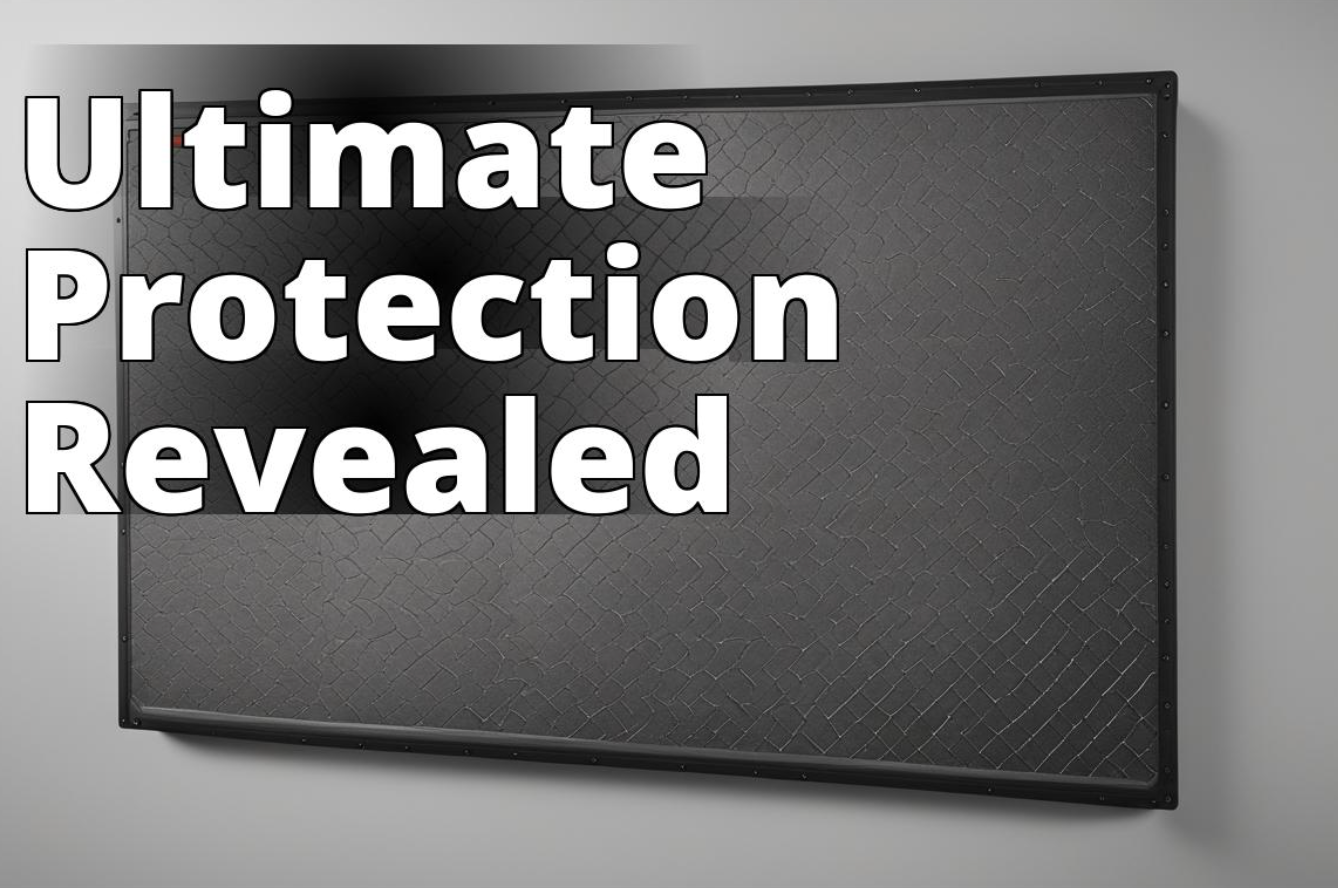
Ballistic Shield


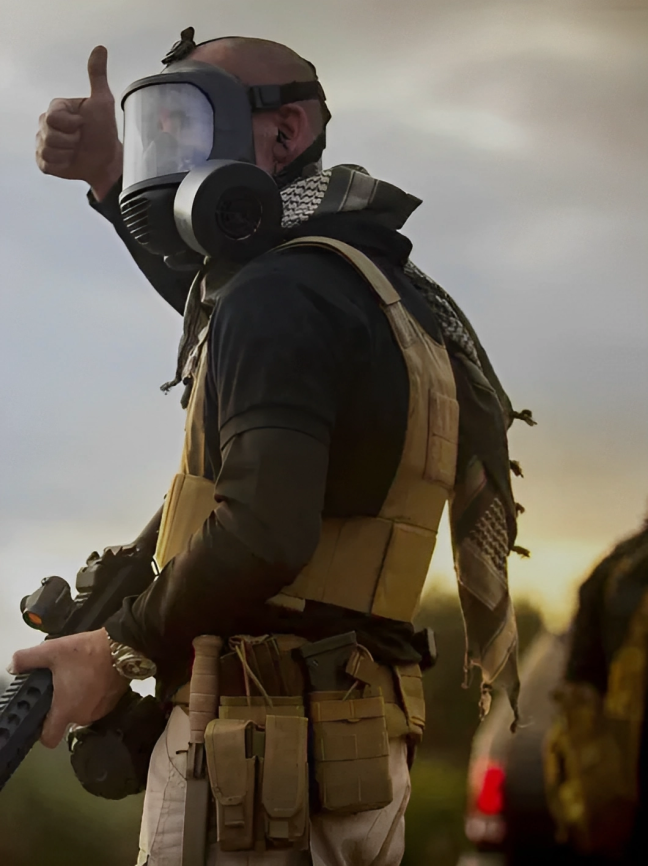

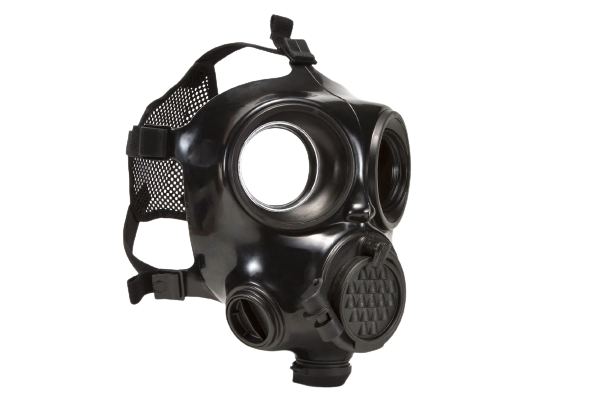
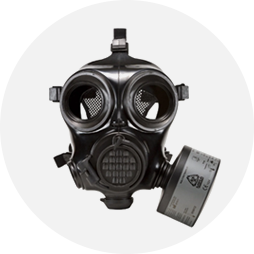
MIRA SAFETY CM-7M MILITARY GAS MASK - CBRN PROTECTION
The CM-7M tactical gas mask is the ultimate chemical, biological, radiological, and nuclear (CBRN) defense system....

ABOUT US
Security Pro USA, is a leading supplier of tactical gear for military, law enforcement, and private security agencies. Additionally, we own and operate the California Tactical Academy, Southern California’s premier shooting range and training facility.
Our Happy CUSTOMERS